

Key Takeaways
Winter riding in Madison and across Wisconsin is absolutely doable with the right preparation, but riders must respect ice, reduced visibility, and cold temperatures that cut e-bike range significantly.
- Cold weather can reduce e-bike battery capacity by 30% to 50%, so plan shorter routes, use lower assist levels, and store batteries indoors whenever possible.
- Comfort in winter cycling comes from smart layering – a moisture-wicking base layer, an insulating mid layer, and a windproof outer layer – not one massive parka.
- Madison’s main bike paths are plowed “as needed” after snow events, but on-street bike lanes are rarely cleared to bare pavement, so route choices matter every day.
- Fat tires and studded tires both help on snow and ice, but riders still need to slow down, brake gently, and ride with extra care on slick sections.
- Know when conditions are genuinely dangerous. Active storms, glare ice, and extreme wind chill are all reasons to leave the bike at home without guilt.
- The tips below are practical, Wisconsin-specific winter ebike riding tips drawn from Crazy Lenny’s eBikes’ local experience – not generic advice that could apply anywhere.
Introduction: Why Ride an E-Bike Through a Wisconsin Winter?
Picture this: it’s January in Madison, temperatures hovering in the teens, snowbanks lining the path, and Lake Monona glowing under a cold dusk sky. You’re pedaling steadily on an e-bike, breath visible, tires crunching packed snow. It’s quieter than summer, the trails are yours, and you feel warm inside your layers.
That scene is real for riders who prepare properly. In south-central Wisconsin, the realistic winter riding season runs from late October through February. You don’t have to start riding in a blizzard – begin with sunny 25–30°F days, dry bike paths, and shorter rides close to home, then build confidence as your gear and skills improve. This guide covers just what you need: battery management, appropriate gear, tire choices, route planning, and honest guidance on when bad weather means it’s time to take the bus instead.
Understanding Winter Conditions in Madison and Across Wisconsin
Madison winters mean temperatures often in the teens and 20s °F, frequent freeze-thaw cycles, salted roads, and patches of black ice on shaded trails. Road conditions can be hazardous in winter due to ice and snow that appear without warning. One morning, you ride on dry pavement; the next, the same stretch is glazed with refrozen melt. Winter cycling demands constant awareness.
The City of Madison advises riders to avoid riding during an active snowstorm, to brake lightly on snow and ice, and to expect longer stopping distances. Bridges, underpasses, and shaded spots on familiar bike paths stay icy long after open sections dry out, and frost-heave can create surprise bumps hidden under thin snow cover.
Route selection matters enormously. According to the City of Madison’s plowing guidance, arterial shared-use bike paths are plowed “as needed” after snow events, with the goal of making them usable for weekday commuters as soon as practical. On-street bike lanes, however, sit at the road edge, collect plowed snow, and are rarely cleared to bare pavement. The Capital City Trail, for example, typically gets far better winter conditions than narrow on-street lanes clogged by parked cars and slush ridges. Scout your winter routes in daylight before committing.
Pre-Season E-Bike Prep: Tune-Ups, Tires, and Checks
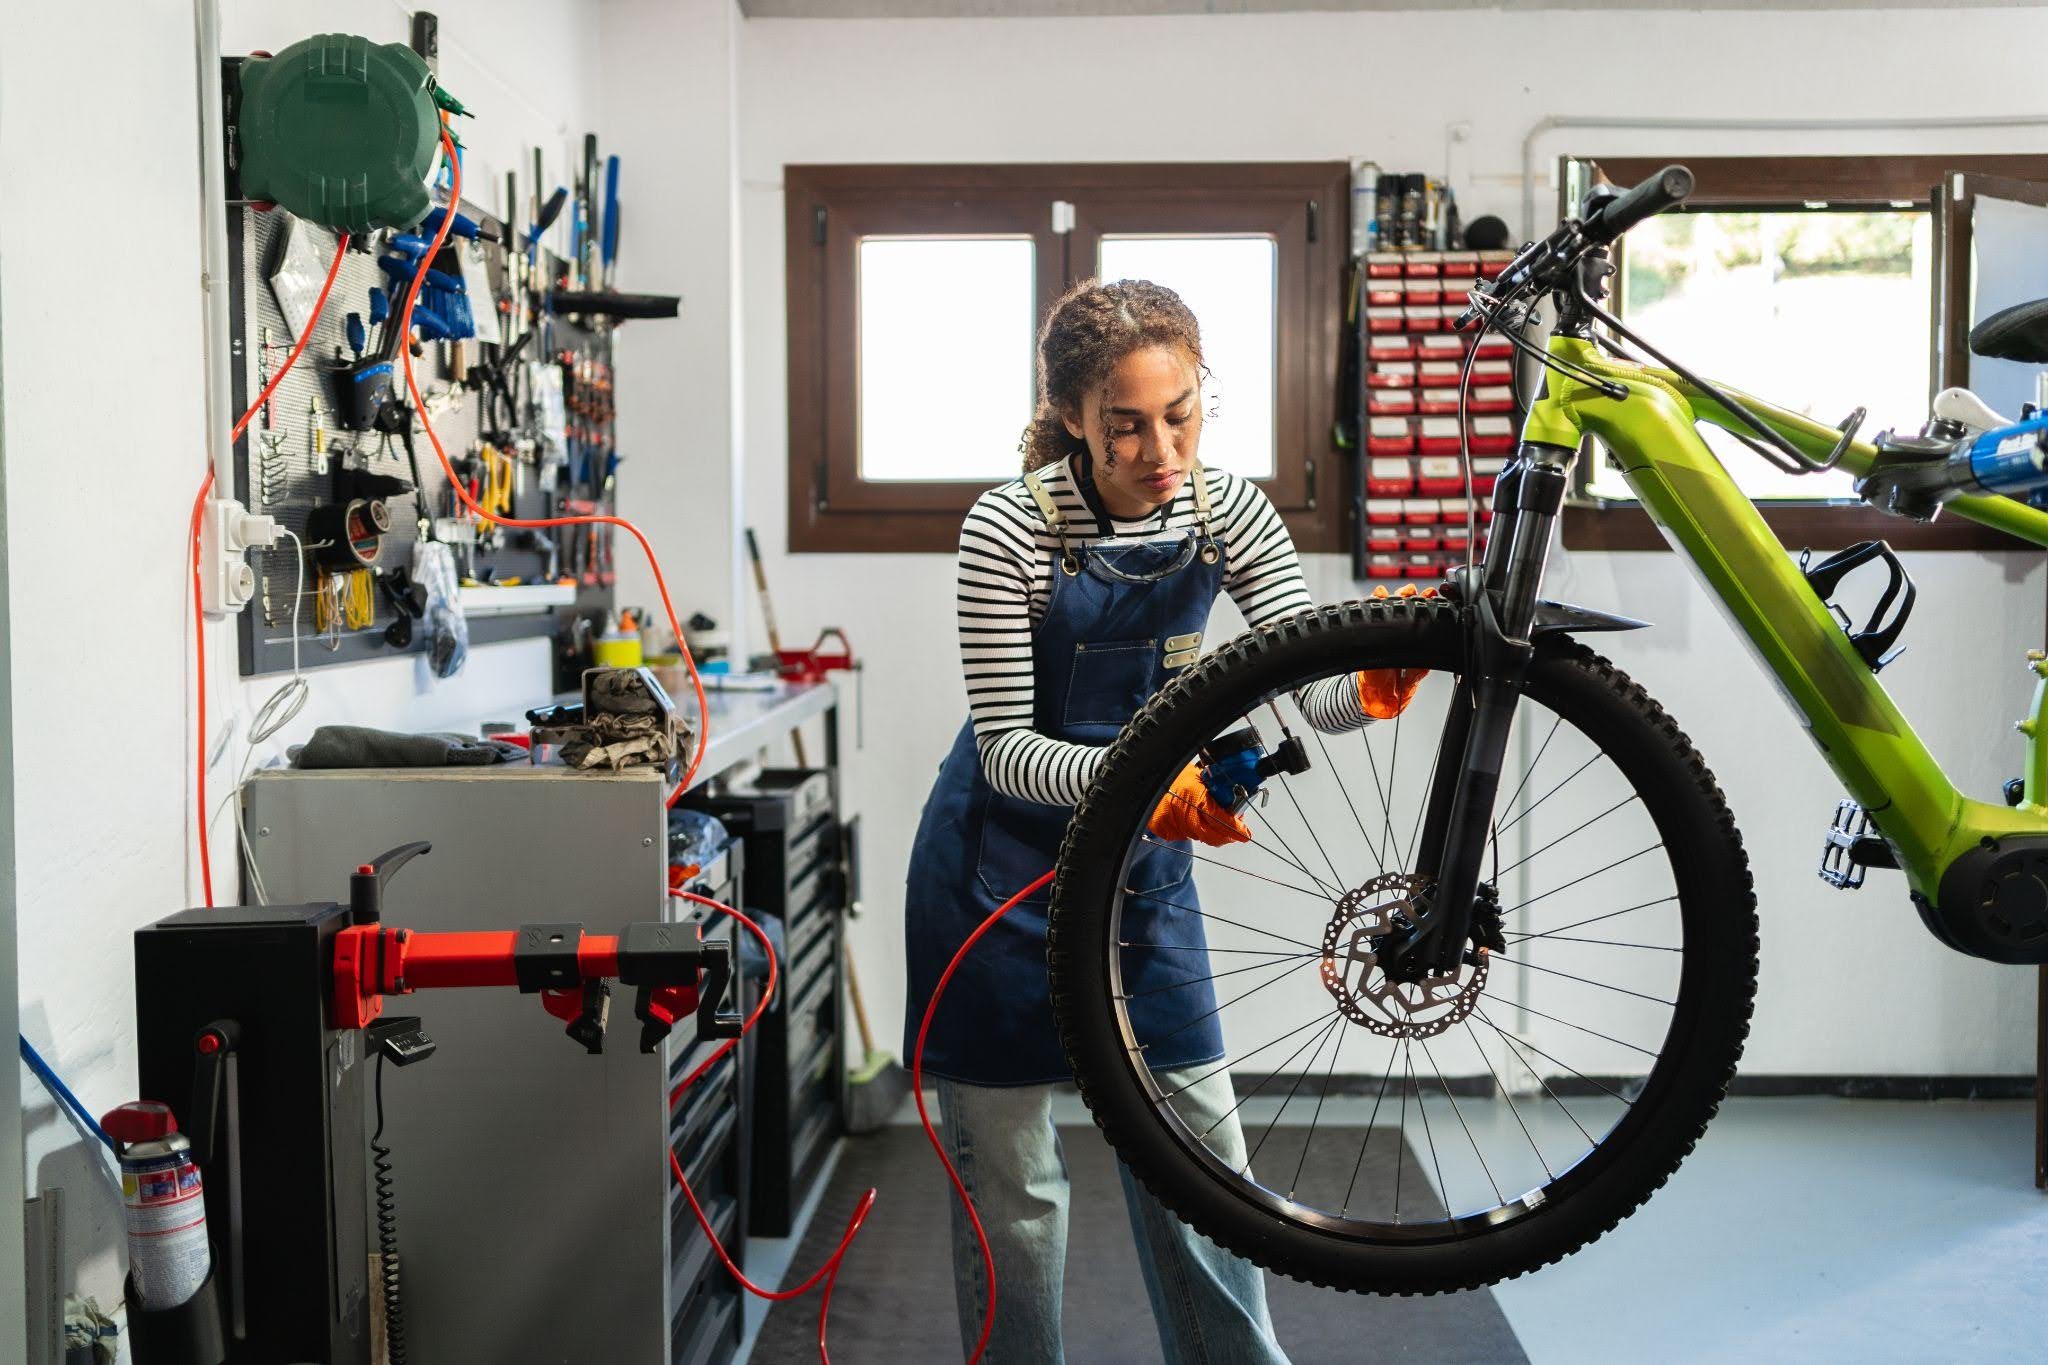
A quick fall checkup in October or early November can prevent breakdowns when it’s 15°F and dark. Have a professional winter safety check done at Crazy Lenny’s eBikes’ service center – this aligns with Madison’s own advice to check brakes, gears, cables, and tire tread before winter cycling begins.
At home, inspect these before the winter months arrive:
- Brake pads and rotors – confident stopping on slush requires healthy pads
- Drivetrain wear – a stretched chain wears cassettes faster in gritty conditions
- Fender clearance – fenders protect you and the frame from road salt and slush
- Exposed cables – check for cracks in the housing that can let moisture in and freeze
Standard summer tires harden in cold weather, losing grip when you need it most. Winter-rated tires stay flexible and improve grip in freezing conditions. Consider the widest knobbier tires that safely fit your frame. Inflate tires to the low end of their pressure range – lower tire pressure improves traction in slippery conditions. A good rule: drop tire pressure by 3 to 5 PSI from your summer setting. Check tire pressure before every ride in winter, since cold air alone can drop pressure roughly 1 PSI per 10°F.
Battery Care and Cold Weather Range Management
Lithium-ion batteries lose efficiency in freezing temperatures. Cold weather can reduce e-bike battery capacity by 30% to 50%, depending on how far below freezing you ride. On a 15–25°F day, a bike rated for 30 miles in summer may only deliver 18–21 miles.
Why? Cold slows the chemical reactions inside cells, voltage sags under load, and the battery management system may throttle output to protect the pack. For cold-weather ebike range planning, cut your normal route distance by a third on sub-freezing days, use lower assist levels, and avoid long turbo-mode climbs into strong winter wind.
Practical care tips:
- Always store removable batteries indoors at room temperature – bring the battery inside after rides to maintain performance and longevity
- Only mount the battery right before heading out into cold temperatures
- Avoid charging in unheated garages; charging a freezing battery can permanently damage lithium-ion cells – let it warm to room temperature first.
- Wipe battery contacts dry after wet rides and consider a neoprene cover to slow heat loss on longer commutes.
Traction, Tires, and Choosing the Right Winter E-Bike
Traction is the heart of safe winter riding. If you can’t trust your tires on snow and ice, every ride feels stressful.
Studded tires provide better traction on ice – carbide studs bite into glassy surfaces where rubber alone is useless. Fat tires float better on snow and slush, distributing weight across a wider contact patch. The trade-off: fat tires plus studs increase rolling resistance, and combined with cold-related battery loss, total range can drop near 50% of summer expectations.
For Madison winter conditions – polished ice at trail crossings, rutted gravel roads, salted city streets – riders who mostly stick to plowed routes may do well with studded tires on a standard frame. Riders who explore snowy rail-trails and unplowed neighborhood paths will appreciate fat-tire e-bikes and the extra grip and stability they offer. Running slightly lower pressure on fat tires (5–8 PSI in deep snow, 8–12 PSI on packed surfaces) dramatically improves confidence.
Before venturing onto busy roads or icy bike paths, practice braking and turning on a quiet, snowy parking lot for a few minutes. Check tread depth routinely and clear embedded grit from tires – sharp debris hides under slushy snow piles.
Layering, Warmth, and Keeping Hands and Feet Warm
Staying warm keeps you in full control of the bike. Numb fingers can’t brake well, and frozen toes turn any commute into misery. Dressing in layers is essential for comfort in winter riding.
For the upper body in Madison’s typical 10–25°F range:
- Start with a moisture-wicking base layer to pull sweat away
- Add an insulating mid-layer (fleece or merino) to trap heat
- Finish with a windproof outer layer to block cold air
Wind chill makes it feel significantly colder while riding at speed – an e-bike cruising at 18 mph in 20°F air creates roughly 0°F wind chill on exposed skin.
For ebike winter gear tips on extremities:
- Keep hands warm with insulated cycling gloves or bar mitts for wind protection; consider good gloves with thin liners plus hand warmers on the coldest days
- Use waterproof boots or shoe covers for warm, dry feet; wool socks are far better than cotton, and avoid tight cycling shoes that cut circulation.
- Chemical toe warmers on the tops of toes make a real difference; dry insoles overnight on a boot dryer.
- A cycling cap or thin balaclava under your helmet adds warmth without bulk; clear or lightly tinted glasses block wind and blowing snow on dark commutes.
Start your ride feeling slightly cool. Overdressing causes sweat buildup, which chills the body once you stop. After a few minutes of pedaling, you should feel warm without being wet.
Visibility, Lights, and Choosing Safer Winter Routes
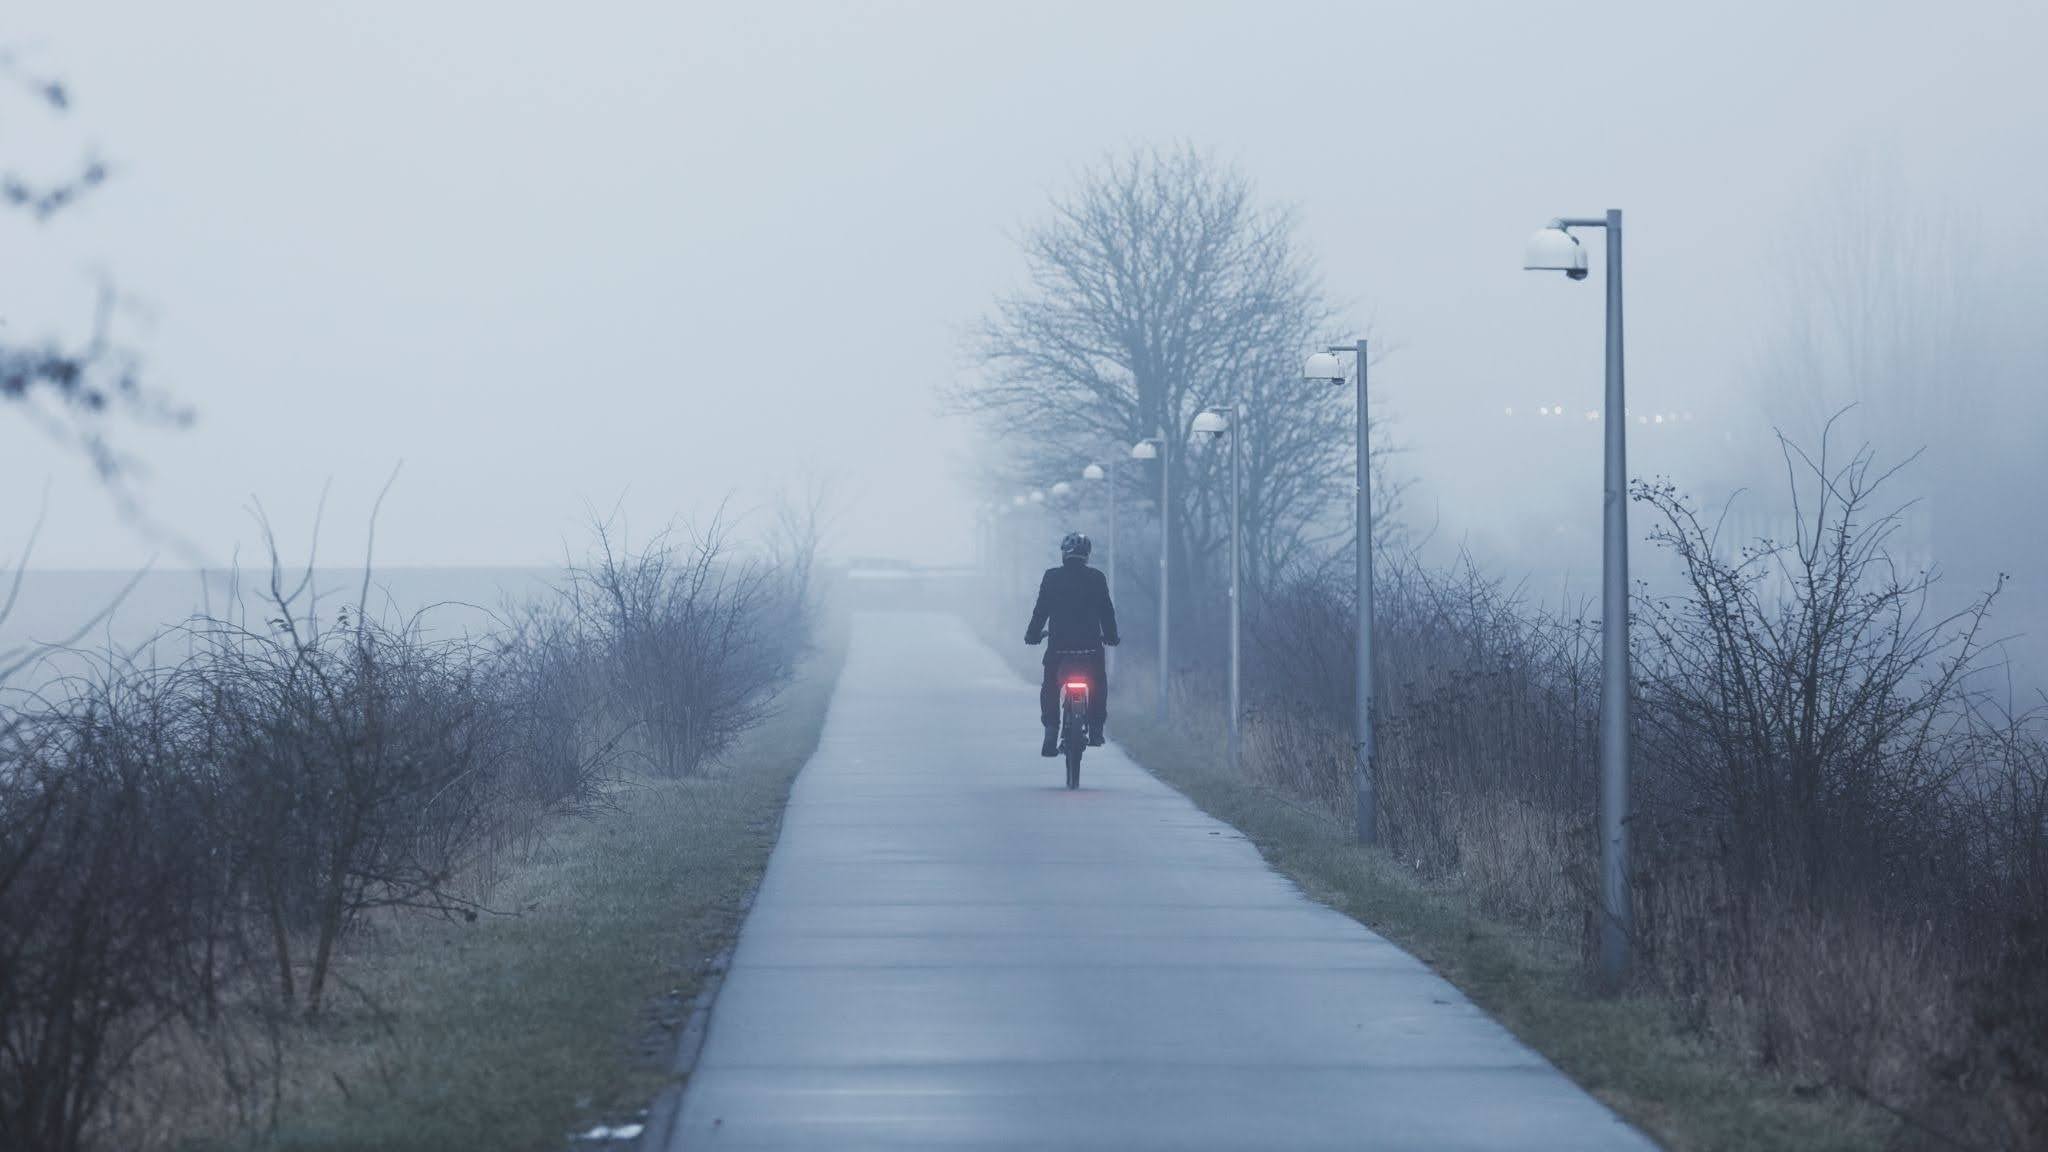
Daylight is scarce during the winter months. December and January commutes in Madison often happen in full darkness in both directions, making bike lights and reflective elements non-negotiable safety tools. Riding in low visibility conditions requires functional lights and reflective gear – no exceptions.
The City of Madison recommends wearing bright colors by day, using strong front and rear lights at night, and adding reflective strips, leg bands, or vests. Reflective clothing helps drivers see you in reduced visibility, especially when cars are kicking up slush and snow spray.
Baseline lighting setup:
- Use at least one front and rear bike light
- A minimum of 500 lumens is recommended for front lights on steady or low-flash mode
- Add backup lights on your helmet or backpack for redundancy
For route planning, favor plowed shared-use bike paths and busier streets that get cleared and salted first. Avoid narrow on-street bike lanes filled with snow berms and parked cars. When bike lanes are buried, use neighborhood streets parallel to main car routes. Riding in the middle of the lane increases visibility and keeps you out of the door-zone slush. Slow down near driveways and intersections where snowbanks block driver sightlines.
Riding Technique: Adapting Your Riding Style for Snow and Ice
Winter riding is about smoothness and patience, not speed. Your riding style must soften to match icy conditions and slushy surfaces. E-bikes have longer stopping distances on slippery surfaces, so ride defensively at all times.
Key techniques:
- Brake earlier and more gently to prevent skidding on ice – avoid hard front-brake grabs that can wash out the front wheel
- Ride slower to allow for better control in winter conditions
- Keep your body relaxed to improve balance on slippery roads; let elbows and knees absorb small slides
- Avoid sudden moves and sharp turns on slippery surfaces
- Avoid sudden steering inputs to maintain control in snow – let the bike wander slightly under you
- Use easy gears when crossing deeper snow to maintain a steady cadence; flat pedals can offer quick foot-down stability
- Ride in the middle of the lane for better visibility and safety when conditions warrant it
When crossing an icy patch, coast or pedal gently without braking. Look where you want to go, not at the ice itself.
Maintenance, Cleaning, and Storing Your E-Bike in Winter
Winter moisture, road salt, and fine grit are much harder on an e-bike than summer dust. Regular maintenance of chains and components is important in winter to keep things running smoothly.
Post-ride routine:
- Wash your bike after riding in slush and snow – a bucket rinse removes salt from the frame, wheels, and drivetrain. Avoid high-pressure washing around e-bike electronics
- Clean road salt off the e-bike to prevent corrosion on bolts, bearings, and electrical contacts
- Clean and lube your bike chain after grimy rides; use a thick lube or wet-weather lubricants to protect the drivetrain in winter conditions and keep the chain running smoothly.
- Check brake pad thickness regularly – grit and road salt wear pads faster in winter than in dry summer commuting.
Store the e-bike indoors or in a covered area when possible. Keep the battery inside a heated space. Avoid leaving the bike buried in snow where cables and connectors can freeze. Schedule a deeper mid-winter or early-spring service at Crazy Lenny’s service center to address stretched chains, gritty bearings, and brake bleeds before peak season returns.
When Winter Riding Makes Sense – and When to Take a Break
Winter riding should enhance your life, not become a point of pride that pushes you into unsafe situations. Here’s a simple framework:
- Green light: Plowed, mostly dry bike paths; temps above 15°F with low wind; good daylight or strong lights; no active storm during your ride window
- Yellow light: Patchy black ice, windchills in single digits, partially plowed paths – shorten your route, lower speeds, stay close to bus lines as backup
- Red light: Active rain, heavy snow, or freezing conditions reducing visibility; widespread glare ice; wind chill below –10°F for rides over 20–30 minutes; unplowed routes with 3–4 inches or more of snow
Build flexibility into your plans. Combine biking with Madison Metro Transit on the iciest days, or plan work-from-home days during the worst storms. Skipping a handful of dangerous days won’t ruin your winter riding habit – grab a hot coffee and wait for better weather.
If you’re unsure whether your current setup is right for Wisconsin winter conditions, book a free consultation at Crazy Lenny’s to talk through tires, gear, and route planning one-on-one. With the right preparation, winter riding is one of the most rewarding things you can do on two wheels.

FAQs: Common Questions About Winter E-Bike Riding in Wisconsin
These answers address the most common questions we hear from riders in Madison and across Wisconsin about winter ebike riding tips.
How much e-bike range should I expect in cold weather?
Most riders see a 30–40% range drop once temperatures are consistently below freezing. In single-digit temps, losses can reach 50%. A practical planning rule: assume about 60–70% of your normal summer range on a 15–25°F day. If your bike is rated for 30 miles in warm weather, plan for 18–21 miles in mid-winter. Riding in lower assist modes, avoiding constant turbo, and keeping the battery warm indoors before riding all help stretch cold-weather ebike range. Test this on shorter rides before committing to longer commutes.
Are Madison bike paths plowed and safe to use in winter?
Arterial shared-use bike paths are plowed “as needed” after snow events, usually when general street plowing is underway, with the goal of making them usable for weekday commuters as soon as practical. Operators try to minimize snow windrows at intersections and return later to clear them, but expect some piles where paths cross streets right after a storm. On-street bike lanes are a different story – the city acknowledges they are rarely cleared to bare pavement because they sit at the road edge and collect plowed snow. Scout your own routes day by day.
What should I wear for a 30-minute e-bike commute at 20°F?
A wicking long-sleeve base layer, medium-weight fleece mid-layer, windproof shell jacket, insulated cycling tights, wool socks, plus insulated shoes or boots with shoe covers, and windproof gloves with optional liners. Add a thin balaclava or neck gaiter under the helmet and clear glasses to protect eyes from cold air and salt spray. Start slightly cool – after a few minutes of pedaling, your clothing should feel warm without trapping sweat.
When are conditions too dangerous for winter riding?
Red-flag conditions include active heavy snow or freezing rain, widespread glare ice visible on car tracks and sidewalks, wind chill below –10°F for any ride longer than 20–30 minutes, or unplowed routes with 3–4 inches or more of snow. Trust your gut: if you’re tense walking across a parking lot, or drivers seem to be sliding, choose another mode that day. Skipping a handful of the worst days keeps you safe and protects your long-term riding habit.
Is a fat-tire e-bike worth it for winter riding in Wisconsin?
A fat-tire bike is not mandatory, but it makes snow and mixed-surface riding significantly more stable. Riders who mostly stick to plowed city streets may be well served by studded tires on a standard commuter e-bike. Riders who enjoy snowy trails and unplowed backroads will appreciate the float and extra grip of a fat-tire model. Anyone unsure can test-ride different options at Crazy Lenny’s and talk through the pros and cons for their specific routes.
How do I keep my hands and feet warm on longer winter rides?
Hands and feet get cold first because the body prioritizes core warmth. Use insulated, windproof gloves or bar mitts, plus thin liner gloves if needed. For feet, wear wool socks inside boots or cycling shoes with insulated shoe covers – avoid tight footwear that cuts circulation. Chemical warmers placed on the backs of hands or tops of toes make a real difference on longer rides. Carry an extra pair of dry socks in a small bag to swap into if snow seeps in during a slushy commute.